Create a rule in the dashboard
- Log in to the Cloudflare dashboard ↗ and select your account and domain.
- Go to Caching > Cache Rules.
- To create a new empty rule, select Create rule. To duplicate an existing rule, select the three dots next to it > Duplicate.
- Enter a descriptive name for the rule in Rule name.
- Under When incoming requests match, select All incoming requests if you want the rule to apply to all traffic or Custom filter expression if you want the rule to only apply to traffic matching the custom expression.
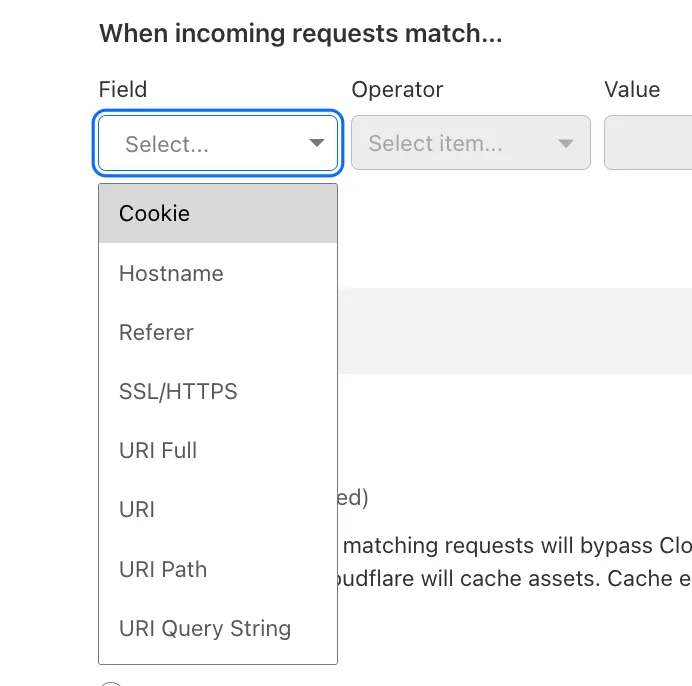
- If you selected Custom filter expression, under When incoming requests match, define the rule expression. Use the Field drop-down list to choose an HTTP property and select an Operator. Refer to Available settings for the list of available fields and operators.

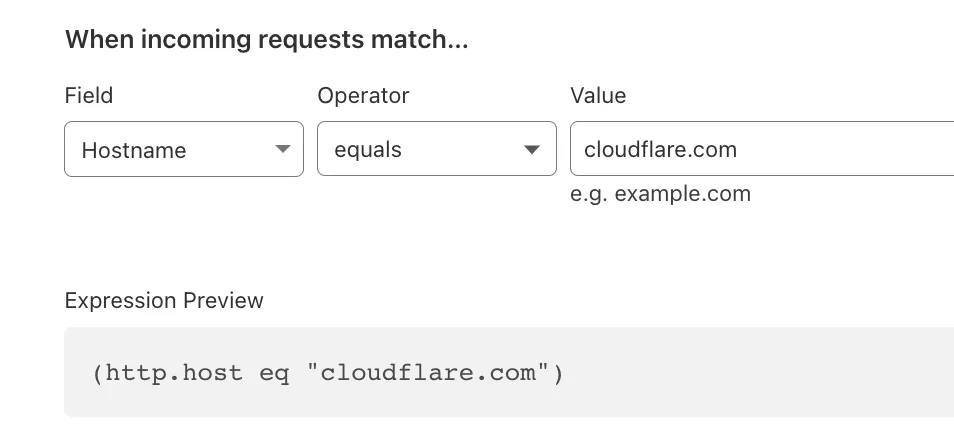
- Following the selection of the field and operator, enter the corresponding value that will trigger the Cache Rule. For example, if the selected field is
Hostnameand the operator isequals, a value ofcloudflare.comwould mean the rule matches any request to that hostname.

-
Under Then, in the Cache eligibility section, select Bypass cache if you want matching requests to not be cacheable, or Eligible for cache if you want Cloudflare to attempt to cache them. Note that cache-control headers can also impact cache eligibility.
-
If you selected Eligible for cache in the previous step, you can customize the options described in the Available settings section.
-
Under Place at, from the dropdown, you can select the order of your rule. From the main page, you can also change the order of the rules you have created.
-
To save and deploy your rule, select Deploy. If you are not ready to deploy your rule, select Save as Draft.